 EN
Proper Cleaning Methods to Extend the Life of a Durable Non Stick Pan
Even a high-quality durable non stick pan underperforms if your washing habits are not right. I had to stop using abrasive scrubbers before I started seeing consistent non-stick results — and once I changed how I cleaned my cookware, the difference was noticeable within a few weeks. The coating that I had been accelerating toward failure simply needed better care, not a replacement.
Non-stick pans typically last between two and five years with regular household use. Proper cleaning and cookware maintenance can push that range significantly further — and improper habits can shorten it to just a few months. If you have invested in a quality durable non stick pan, the cleaning routine you adopt matters as much as what the pan is made from.
Why Pan Cleaning Is the Most Overlooked Part of Cookware Maintenance
Most home cooks focus on which non-stick pan to buy. Far fewer think carefully about how to clean it. Yet the microscopic damage that ends most non-stick coatings does not happen at the store or in the first week of cooking. It builds gradually, through repeated small mistakes made in the sink.
After several months of regular use, non-stick coatings begin to show micro-scratches — typically starting at the center of the pan interior, where utensil contact and scrubbing are most concentrated. Once those scratches become channels, moisture and cooking residue work their way beneath the coating layer, and flaking begins. In practice, the pan does not fail all at once. It quietly degrades through each cleaning cycle where the wrong tools or approach were used.
Understanding this process makes the correct kitchen habits much easier to commit to. You are not just following rules — you are protecting an investment you can actually see the returns from.
The Cooling Step: Do Not Rush Straight to the Sink
One of the most damaging things you can do to a durable non stick pan is rinse it with cold water while it is still hot. The sudden temperature change — called thermal shock — can warp the base. Once the base warps even slightly, the pan rocks on flat burners, heat distributes unevenly, and the structural stress accelerates coating separation at the pan edges and bottom.
The fix is simple: after cooking, remove the pan from the heat and allow it to cool to near room temperature before washing. If you mostly cook dinner and then clean up immediately, this habit will require some adjustment. Letting a pan cool for 10 to 20 minutes before cleaning is the single most effective structural care step you can take.
Handwashing vs. the Dishwasher: Why Quality Pans Deserve Handwashing
Many home cooks wonder whether a dishwasher-safe label means their non-stick pan is safe for regular machine washing. Technically safe and genuinely beneficial are not the same thing. Dishwashers use high-temperature water and strong alkaline detergents specifically designed to cut through grease — and those same properties strip non-stick coatings layer by layer over repeated cycles.
If your dishwasher convenience outweighs all other considerations, a mid-range pan will survive a few cycles. But if you want a durable non stick pan to remain genuinely non-stick for three or four years rather than one, handwashing is the clear choice. Use warm water, a small amount of mild dish soap, and a soft cloth or non-scratch sponge. That is the full toolkit required for normal pan cleaning.
Choosing the Right Cleaning Tools for Coating Care
Abrasive tools are the fastest path to coating damage. Steel wool, rough scouring pads, and hard-bristle brushes create micro-scratches on the first use — scratches that are invisible to the naked eye but immediately degrade the non-stick surface at the microscopic level.
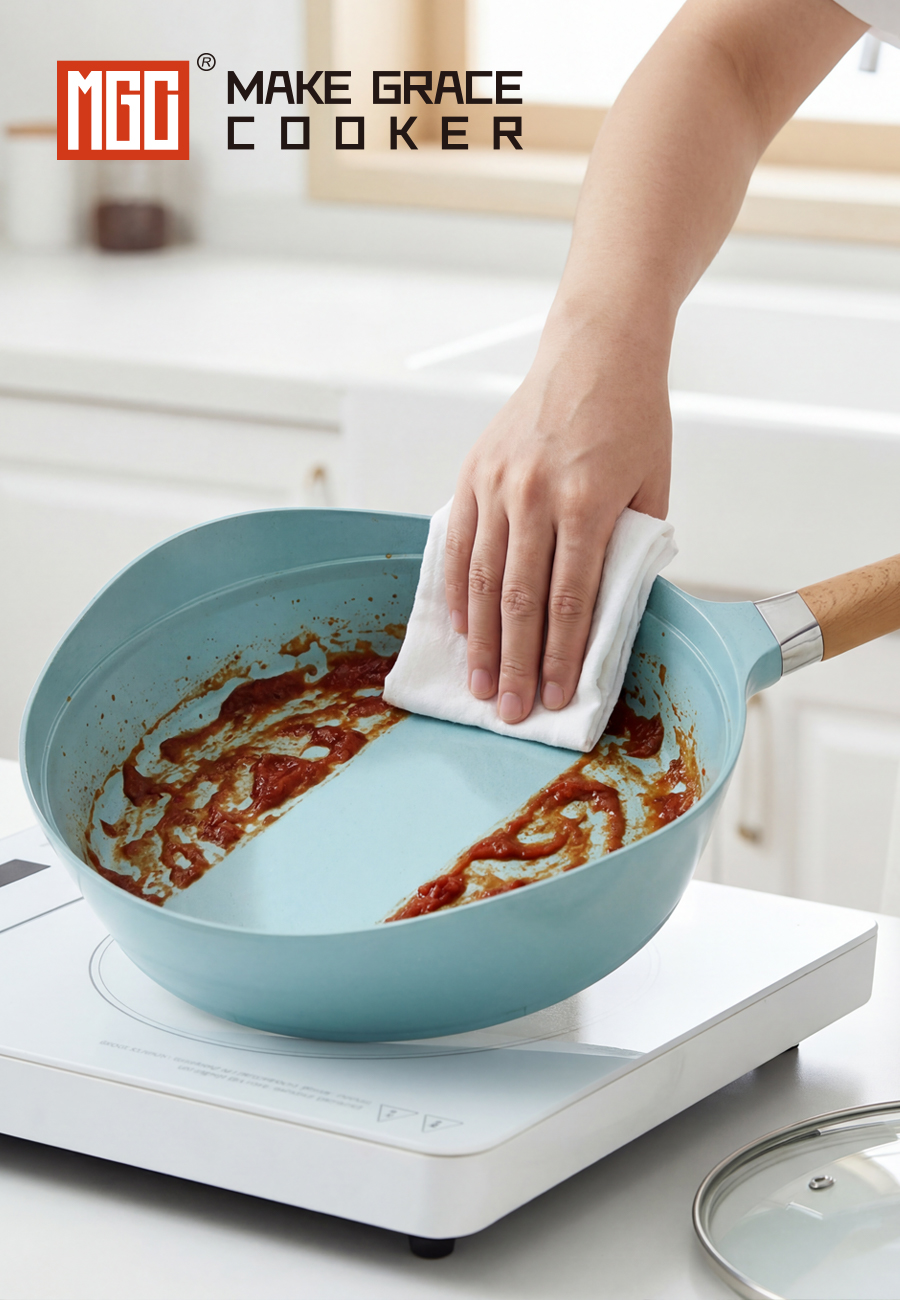
For everyday pan cleaning, a soft sponge with a non-scratch side is sufficient for removing food residue. You can usually tell a lot about how well a pan coating is holding up by how easily residue wipes away after a normal cook. If food is coming off easily with minimal effort, the coating is intact. If you are scrubbing hard, that is a signal worth paying attention to — either the coating is degrading, or the pan was used at heat levels beyond what the coating is designed for.
The decision between a soft sponge and a microfiber cloth often comes down to the type of residue. For oil-based residue and light sticking, a damp cloth is enough. For heavier caramelization or sauce reduction, a sponge with gentle circular strokes is more effective without risking surface damage.
Handling Stubborn Residue Without Damaging the Coating
Stuck-on food is one of the main reasons home cooks reach for abrasive tools — and one of the main situations where coating damage happens. The right approach for stubborn residue is soaking, not scrubbing.
Fill the cooled pan with warm water and a small amount of dish soap. Allow it to soak for 10 to 15 minutes, then wipe with a soft sponge. For particularly resistant residue, a paste of baking soda and water applied gently with a soft cloth loosens carbonized particles without scratching. Baking soda is a mild abrasive, meaning it dissolves particulate matter rather than gouging the surface — and it rinses clean without leaving chemical residue on a food-contact surface.
One mistake I kept making early on was using the rough side of my scrubbing pad every time food stuck, until I noticed the non-stick surface had become visibly duller near the center after about eight months of consistent use. Switching to the soak method eliminated most of that scrubbing entirely.
After-Wash Care: Drying and Optional Seasoning
Drying a non-stick pan thoroughly after washing matters more than most guides emphasize. Leaving water sitting on the surface, particularly inside riveted handle joints or where the coating meets the pan rim — can introduce moisture to areas where the coating bond is naturally thinner. Air-drying is fine for stainless steel, but for coated cookware, a quick pat-down with a soft towel is better practice.
Once dry, applying a very thin layer of a neutral cooking oil — vegetable oil works well — and heating the pan briefly on low heat can refresh the surface and restore minor dry spots on the coating. This is not a mandatory step after every wash, but doing it every few weeks as part of your regular cookware maintenance routine extends coating resilience.
Storage: Protecting the Coating Between Uses
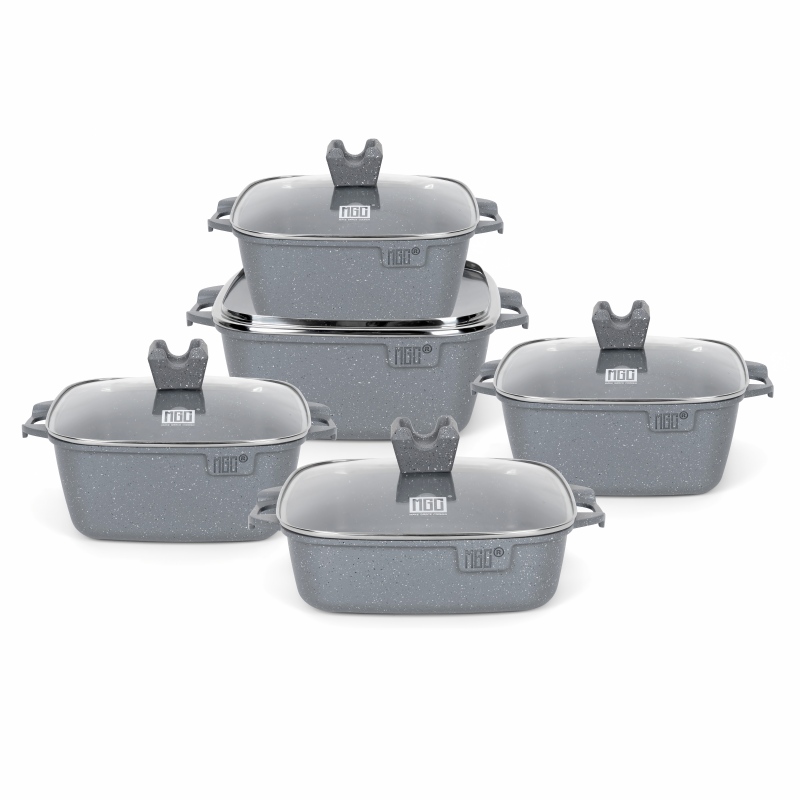
Cleaning kitchen habits matter most during the washing phase, but storage creates its own category of coating damage. Stacking non-stick pans directly on top of each other without protection causes the base of an upper pan to scratch the interior coating of the pan below. Over repeated stacking cycles, those scratches accumulate to the point where food begins to stick consistently.
Use pan protectors — soft cloth dividers placed between stacked pans — or store pans separately if cabinet space allows. If stacking is unavoidable, place a folded kitchen towel between each pan as a minimum barrier. This small step in your kitchen habits costs almost nothing and meaningfully extends the life of a coating that took real investment to acquire.
Connecting Care Habits to Real Lifespan Outcomes
The connection between proper pan cleaning and longer pan life is not theoretical. Industry testing frameworks — including the cycle-based durability assessments used by independent consumer testing organizations — measure non-stick performance by subjecting coatings to repeated physical contact over thousands of cycles. What those tests simulate in days, improper cleaning replicates in months at home.
A durable non stick pan built from quality materials and constructed with consistent coating application has the structural potential to last well beyond average. Whether it reaches that potential depends largely on the kitchen habits that surround it. Cooling before washing, using soft tools, handwashing with mild soap, soaking rather than scrubbing, and protecting the surface during storage are not complicated steps. They are simply consistent ones.
If your current pan is already showing signs of wear, these habits will slow further degradation. If you are starting fresh with quality cookware, building these routines from the first week will give you the longest possible return on your investment.